Sunday, December 5, 2010

MaquetteProject- entry 11


Hey everyone! Hope you had a great Thanksgiving like I did! Sorry I haven't updated earlier but I got carried away with other projects and work and family stuff and you know...

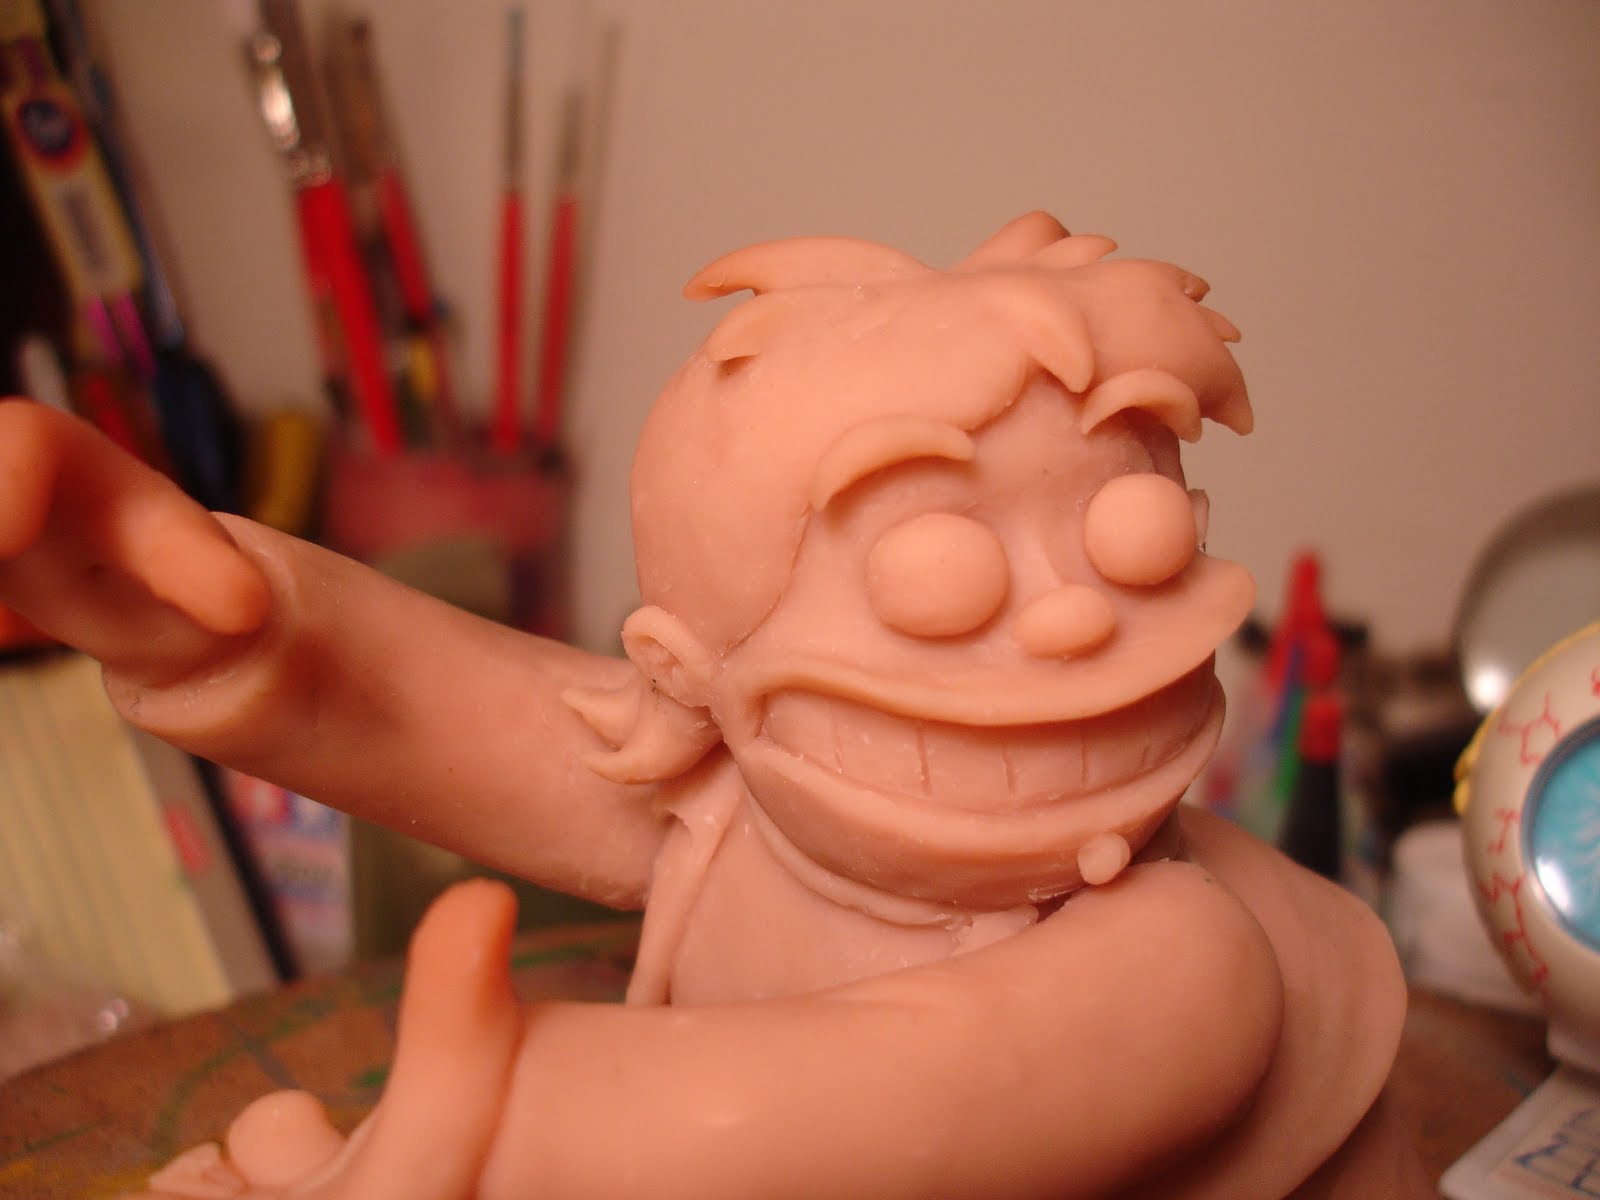
I baked the upper portion of the tall guy and after showing Erick about some edits, I started finalizing the bottom half of his body and his tiny legs.


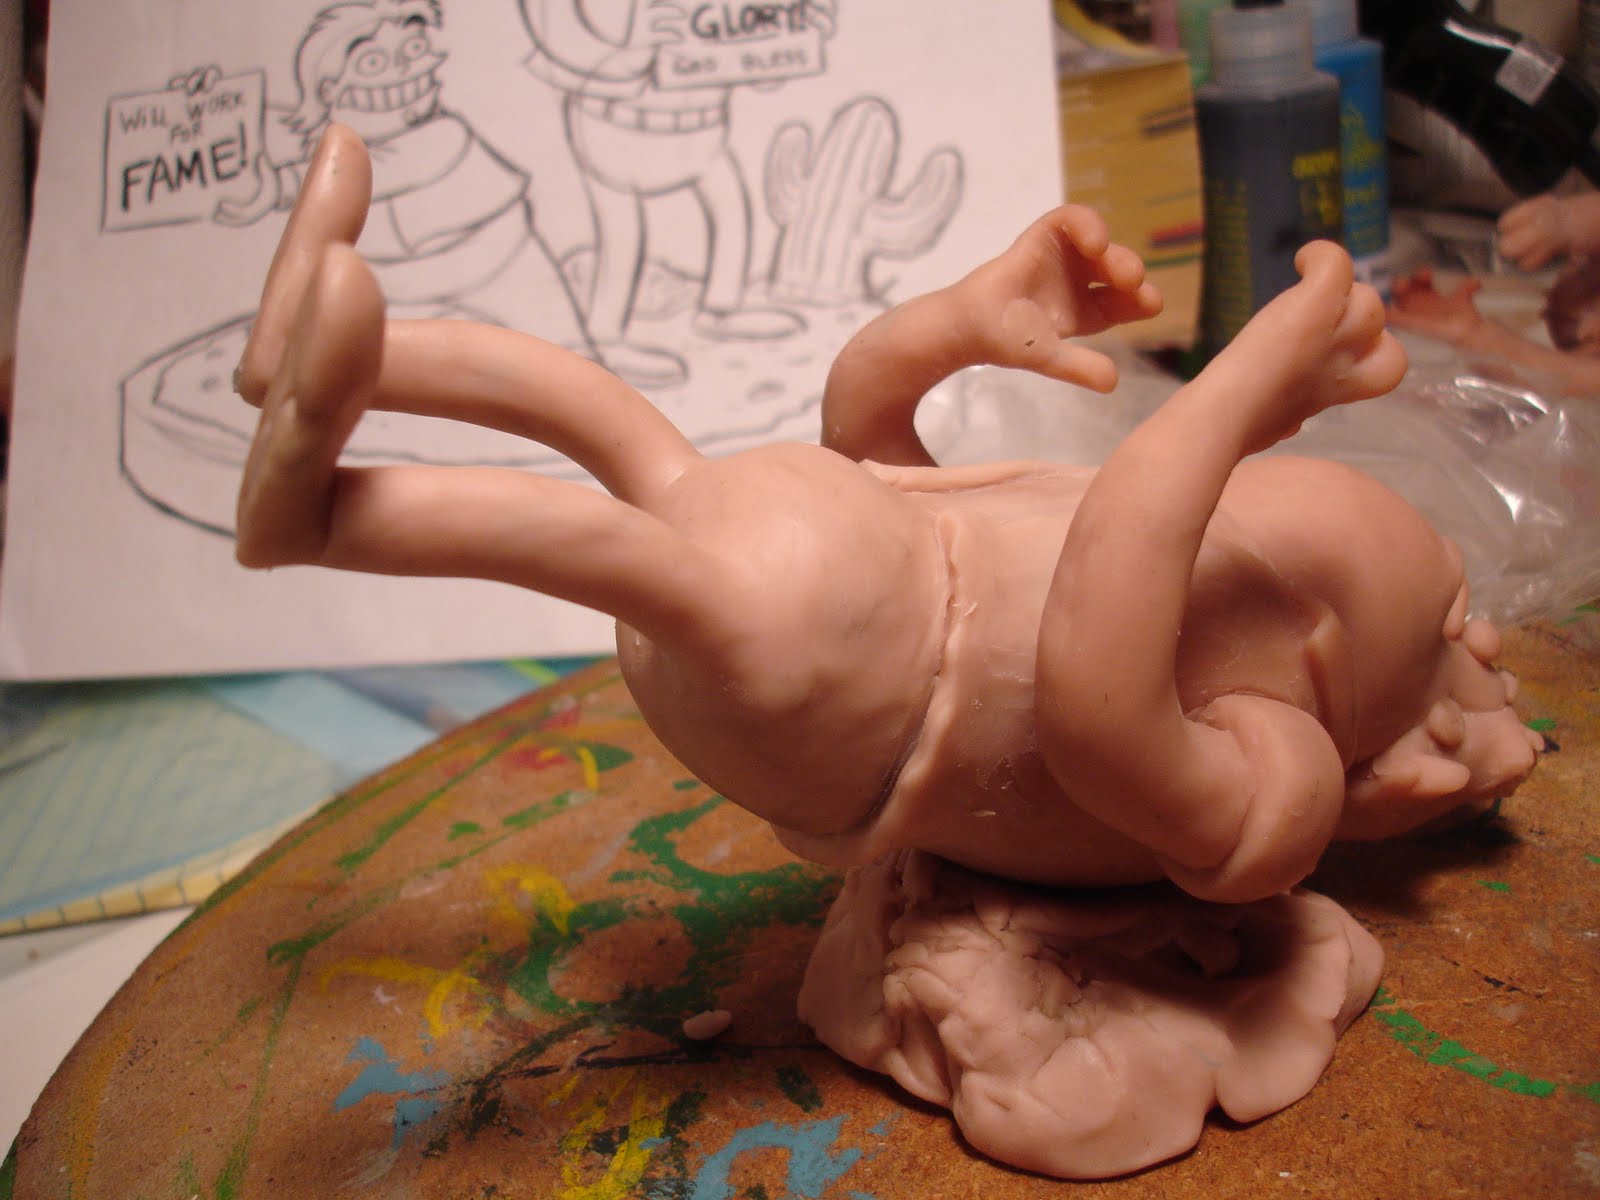
The legs should be able to hold his weight with the help of the armature wires in them, after they are baked that is...


Also finished his vest, along with his pants and belt.


I did some finishing touches on his face and hair since I had another baking session. His freckles I plan on etching into the baked sculpting with a needle tool. They are so subtle and I just feel like if I tried sculpting them into the soft material I would just end up thinking they were too heavy anyway and filling them in and trying again...!


...almost done!

VIDEO ENTRY 11-A


VIDEO ENTRY 11-B

...Later!

Saturday, October 16, 2010

MaquetteProject- entry 10


Hey y'all...! Building up the taller guy and roughing out his details this time around.


As before, I used simple shapes to start out with and keep refining them until they look like the sketch. I kept comparing everything to the sketch to keep the scale and size relations right.


This guy looks like he's really heavy, but remember his torso is full of tinfoil, so he' not really heavy. I had to keep him light because of his skinny legs!


DROP AND GIMME TWENTY!!


Hooks for hands... patience... they'll come around...


Gettin' there... still pretty rough but you can tell it'll look like him. Man, his jaw is big!


I roughed in the hands and put a temporary sign in them to see if I was on the right track. You kind of have to keep everything in mind while you are sculpting a project like this with added props. The hands may look really good, but will they hold the sign after you bake the thing?


You may have noticed that the legs were roughed in and now they are not! This is because in the process of sculpting him, I kept squishing the legs out of proportion, so I decided to bake the top half first and them sculpt the lower half after, just like I did with the shorter character.


VIDEO ENTRY 10

See you next time! Almost done!

Sunday, October 3, 2010

MaquetteProject- entry 9


Greetings fellow earthlings.

With the 1st sculpt baked, the only stage left is to finish him off by sanding and detailing. I use alot of different tools for detailing, like sandpapers and dental cleaning tools. Sometimes it's a tough job getting every surface and curve and plane really smooth. And you can't cheat! Once you paint the the thing, all the rough spots show. So I try to get everything as smooth as I can.


Some things I left a bit rough since I knew it would be easy to sand smooth after the sculpt was baked again, like some of the lines and hems on his clothes and sneakers.


Sometimes I use plumbers putty to fill gaps and cracks that show up. You can see one of those places around his eye where the sculpey was a little shallow The putty is pretty easy to use, but you only have about 3 to 4 minutes before it sets up and hardens. It sands pretty well too.


VIDEO ENTRY 9-A

VIDEO ENTRY 9-B

Until next time friends!

Saturday, September 11, 2010

Maquette Project- entry 8


Hey y'all! Worked on the little guy's bottom half this time around. It helped baking him first because now AI can handle him without messing something else up.


Finishing off his legs was easy. I removed the sculpey around his feet that braced him up while I was sculpting him and started on his legs first. I had to dremmel some of the hardened sculpey off because his legs were too thick initially (see video).


In the above pic you can see where i put new soft sculpey over the old baked sculpey.


I also sharpened up his hands and clothes. I sculpted his sneakers and laces next.


I had showed Erick the sculpt and he had mentioned that he wanted the tummy to be a bit smaller, so I fixed that.
At this point the next step is to final bake him and then patch up some divots and shallow spots that always show up when I start sanding him. I use plumber's putty to do patch-up work. More on that later.
Meanwhile... TWO videos this time around...

VIDEO ENTRY 8-A


VIDEO ENTRY 8-B

See you next time!

Sunday, August 29, 2010

Maquette project- entry 7


Hey friends! Interesting twist this week- since I had to go ahead and bake our little nino here. I had finalized the hair, his ears and the curve of his lips around his smile. I got all that stuff the way I liked it and started working on his sleeves and jacket.


The trouble was I came to that point I sometimes hit where you can't grab the sculpt or hold it so you can work on some other art of it without scrunching up something else! Well, I kept doing that-...! So I decided to detail everything up to a point and bake him. Then I wouldn't have to worry about messing up the hair and having to constantly fix it if I held it the wrong way. If you are careful, you can bake sculpey a number of times, putting new sculpey over or along with the baked stuff.... if you are careful!


As you can see the hair has less mass which made his head look smaller and fit his body alot better. I had to fudge the design of the hair in back because Erick's drawing only showed one side. I kept it simple and within the style of the drawing.


I sharpened up the sleeves and cuffs on his shirt and jacket, keeping in mind that the flow of the curves should look nice from every angle.


The hands and fingers have been folded over and shaped to hold the tiny sign. I purposefully left a rut into the clay to hold the sign so it would kinda slide into place. The groove didn't show with the sign in place.


So far - so good. The baking worked great and he didn't crack or split or anything. The plan now is to finalize everything else, like his other foot and possibly some more planes of hair in the back. His sneakers have laces on top of them... those should be interesting.


VIDEO ENTRY #7

See you back here in 2 weeks. Thanks y'all!

Sunday, August 15, 2010

Maquette project- entry 6


Hey y'all! This week you'll see that the little guy's features are more defined and more on model. I decided to start over with the hair because it had too much mass and made the head look too big.


I also reshaped the eyes a bit. I didn't feel they matched Erick's drawing good enough and simply reshaped them a bit after I re-sized the planes of hair on his head.


He also has hands now. Since the armature is connected to the doll I baked, I can swing the arms in and out of position to sculpt the hands better. I cut a little piece of paperboard to act as a stand in for the sign to check scale and position and stuff.


His clothes are slowly coming together also. I'm sort of working my way down the thing with the details, since I have to pick it up alot and if I detail something and then grab it to detail something else- it gets smooshed.


I didn't put any wires in his fingers because I didn't think they were needed. He only has to hold a small sign and I didn't think his hands and fingers needed any extra support. If they were long and lean instead of short and stubby, I would've put some wire in the fingers.


His stance and anatomy make him want to fall forward so I placed a brace of sculpey under his tummy so I can work on him without holding the sculpt to detail it. One of the feet are roughed in, while the other is simply a mass of sculpey keeping him upright.


I started wrapping the sculpt in plastic wrap after a sculpting session. I found that it keeps the sculpey cleaner and helps so it doesn't dry out as fast if I don't get to work on it as often as I'd like.


VIDEO ENTRY #6

See you in a couple weeks. Summer's almost over already. Make sure to have some fun!