Sunday, June 6, 2010

Maquette Project-entry 1


Welcome to the first of several blog entries showing the process of how I constructed an animation maquette for my friend and fellow Simpson-ite, Erick Tran.


First Erick gave me a copy of the character sketch of the two guys standing on a little stand with a simple setting on it. I thought it would make a great piece! I looked for challenges right off the bat. The curl in the chunky one's lips would be hard to pull off in 3D, plus the tall one has really skinny legs! Cool! Just makes the puzzle cooler to figure out!


I made a copy of the model sheet, enlarging it so it would be about the same size that Erick and I had decided it should be. If you do this, it's easy to line things up and scale parts of the sculpt so that everything works to look like the actual drawing.


Then I traced around their bodies and drew a rough sketch of what the armature would have to be and where the sculpey skeleton would be placed in the armature to make the doll.


Here are the armatures dolls before baking.


VIDEO ENTRY #1


See you in two weeks!


So the plan is...


I've finished a maquette set for my friend Erick Tran and it turned out well. Erick was pushing a new show concept he had in mind and I thought it would be fun to make his characters and add an interesting piece to my sculpture portfolio!

Only this time, since I know Erick and has an interest in how things like this get done and "how did you do that?" stuff, I thought I'd document the whole process of making the sculpt from armature to finished product, and puttin the stuff on here, complete with little movies I took after each stage in making this thing. Keep in mind this is how I do it- I didn't go to school for this and I just figure stuff out as I go. Seems to work... most of the time.

So the plan is, once I get enough blog entries done, I'll try to post one every other week. I get alot of complaints that I don't put enough stuff up regularly and I agree. I'm either too busy or too lazy...! So maybe if this works I'll have something new and interesting up here every other week so Ernie-grog and everybody else will be happy campers!


...by the way... does anyone still read this thing...?


;)


Tuesday, May 25, 2010

Building Paul's Dinosaur


When I started this project, it was kind of like a test for another sculpture idea I have. I needed to know if what I had planned would work and since my friend Paul had a birthday coming up, I figured I'd try some designs on this sculpt as a sort of experiment. The idea was to design the dinosaur so you could change his expression by rotating the scale on the top of his head which in turn would change his eyes.


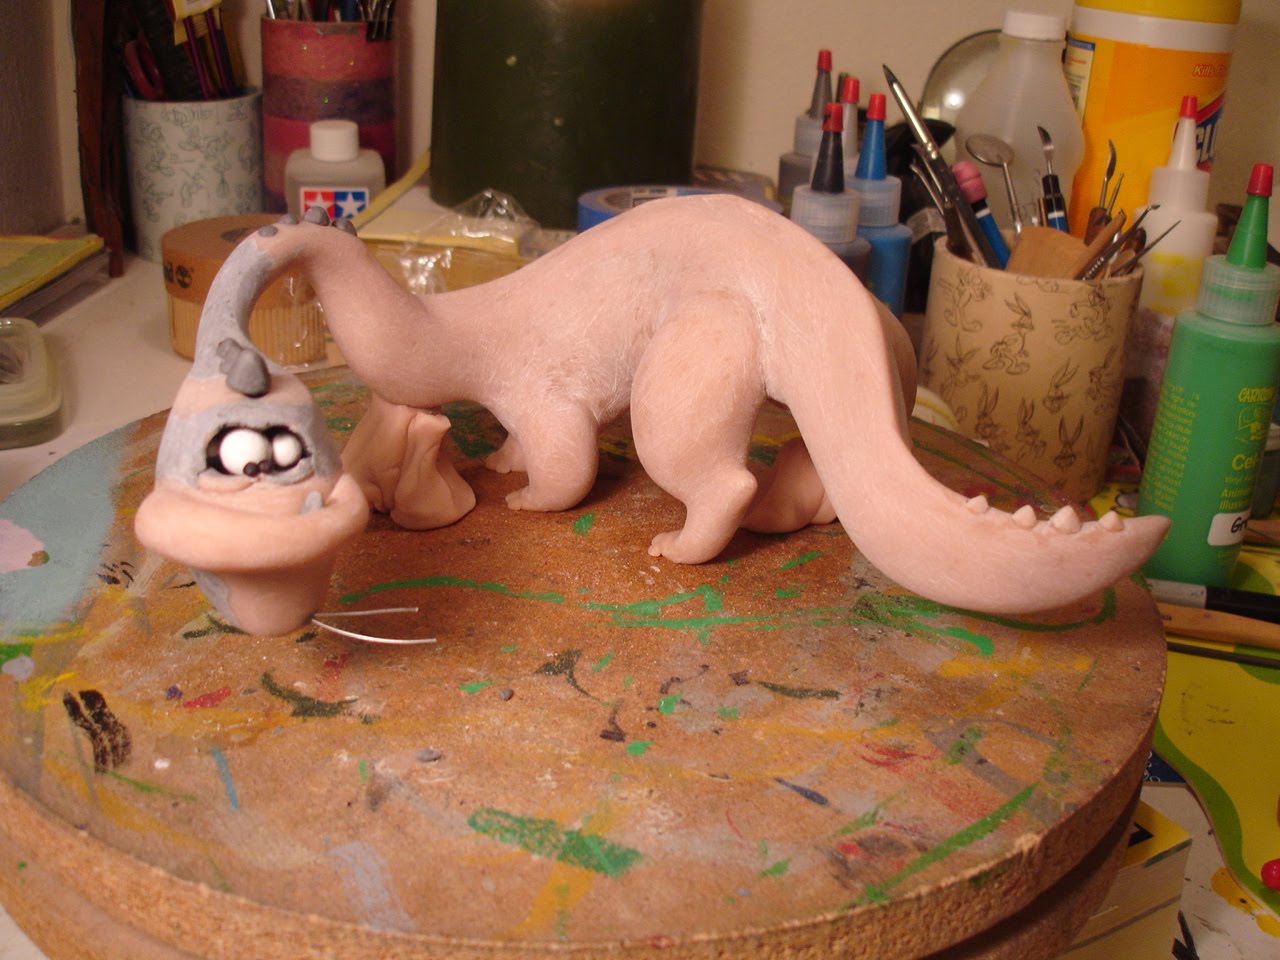
I picked an apatosaur ( or brontosaurus if you are old school...) because it was simple and I could sculpt it pretty fast. The hard part was the design of the gizmo inside his head that would change the eyes. I stated with a simple armature design and sculpted the torso.


After that I designed the turntable that would hold the eyeballs. These were simply tiny wooden beads I bought at a craft store. I took apiece of epoxy putty to build the flat disc and glued the beads onto it, along with a thick piece of armature wire that would later be cut off to make the turning knob.


I baked the body and shaped and sanded it. As I do this I always like to keep in mind that the sculpt should be interesting from any angle.


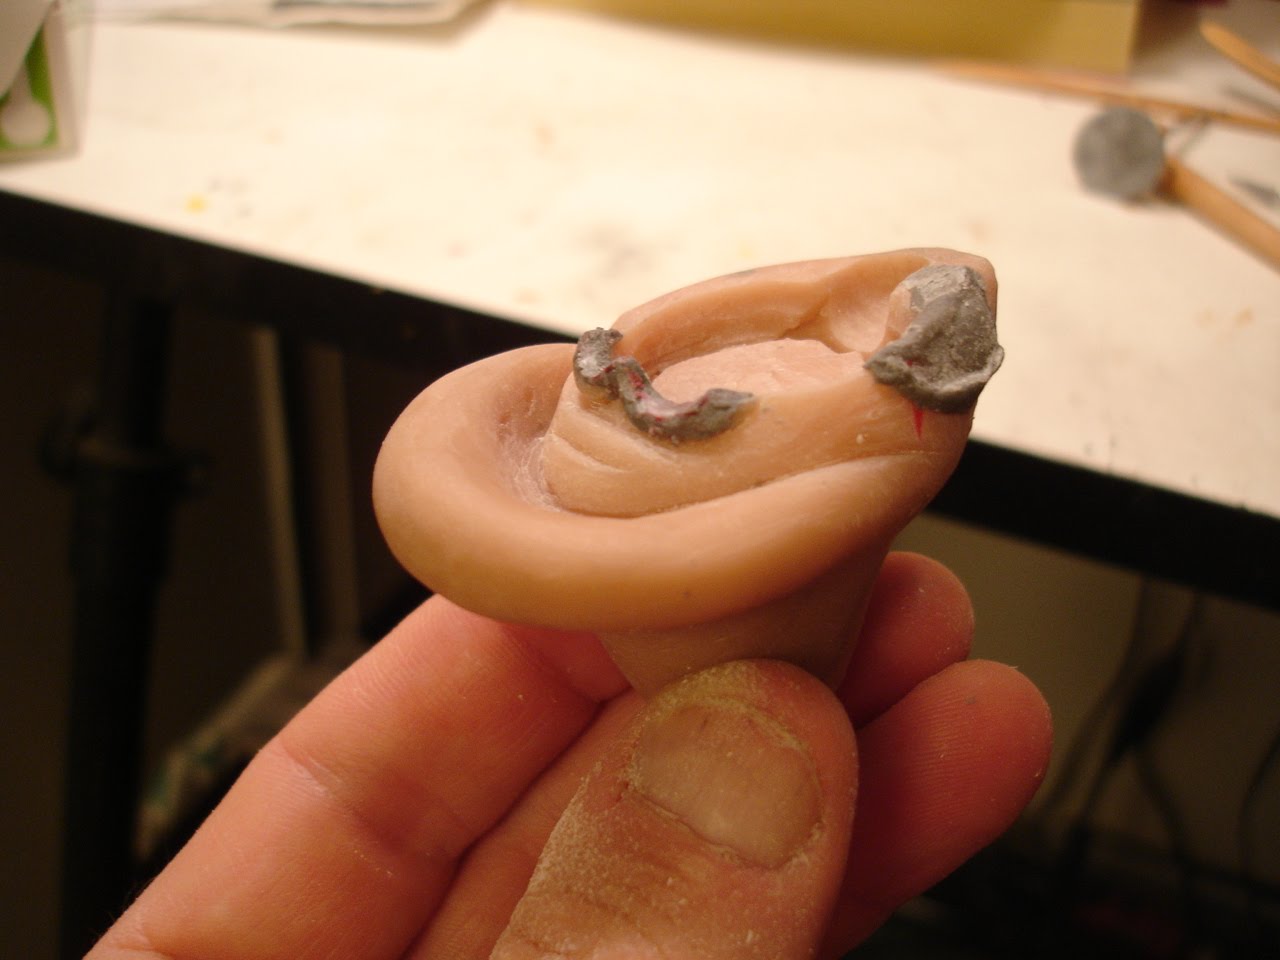
I sculpted the head to my "style" keeping in mind that the turntable would have to move smoothly and fit inside the head at the same time.


I used epoxy or plumbers putty to fill in the spaces that would join the head and neck pieces. The putty cures hard in about 10 minutes so you can mold and shape it into what you need, but you gotta be quick sometimes. It comes in handy because you don't have to re-bake the sculpey pieces- you can just add the putty and let it cure. After I got the shapes somewhat interlocking, I would them join them and fill in the seam after the 3 pieces were assembled.


I had to sand and re-fit the pieces several times before everything worked the way it was in my head. When the pieces were finally fitting together, I added more putty to the inside and keyed the pieces so they would fit together in the same way everytime.


It worked!


With the head finished, I sculpted the rest of the body, finalizing the tail and the neck. The head assembly would be glued or puttied onto the neck. I wanted the neck to go kinda thin and then end with a big dinosaur head so it had to be strong.


I sculpted him with teeny tiny feet as an homage to the dinosaurs in an old Tex Avery cartoon I really liked!


I puttied the head assembly together and sanded down the seams. After that, I puttied the head onto the neck to complete the dinosaur. At first I had planned to paint the pupils on the different eyeballs themselves. But I decided try to "float" the pupils in front of the eyeballs and paint just the lids on the beads because you could then double the possible combinations.


I sculpted a little rise of land and put wires into the sculpey for grass. This was baked and glued onto the wooden base to create a river setting.


Then you paint it!


And the finished piece. Don't forget to check out the video clip of how it works in the earlier dinosaur page on this blog!


UP NEXT...


Sunday, December 20, 2009

Merry Christmas everyone!


All the best everyone! May your Christmas be merry and your New Year be better than last!

-Lance